🚚
Use code
FLAT10
to get AED 10 OFF
on orders above AED 250.
🚚
Use code
FLAT10
to get AED 10 OFF
on orders above AED 250.
Freshly washed sneakers can look perfect for about five minutes – right until they are left in a dark corner, stuffed with damp paper, and start smelling worse than before. Drying is not the boring final step of sneaker care. It is the step that protects the shape, glue, color, cushioning, and clean finish you worked for.
Knowing how to dry sneakers after washing comes down to one rule: use steady airflow, not aggressive heat. A little patience keeps your kicks looking crisp. Too much heat can warp soles, loosen adhesive, shrink materials, and leave light-colored pairs with yellow marks.
Do not leave washed sneakers soaking in the sink, bathtub, or cleaning tray while you deal with something else. Standing water keeps working its way into the foam, lining, and glue layers. As soon as the wash is done, gently shake each shoe upside down to remove excess water.
Use a clean, dry microfiber towel to blot the upper, tongue, collar, and outsole. Press rather than scrub. This is especially useful for suede, nubuck, mesh, canvas, and knit uppers, where rough towel action can change the surface texture or push dirt deeper into the material.
Remove the laces and insoles before you begin the main drying process. Both hold moisture close to the inside of the shoe, which slows everything down and creates the conditions for odor. If the insoles are removable, dry them separately in a ventilated area. Lay laces flat on a towel or hang them over a drying rack.
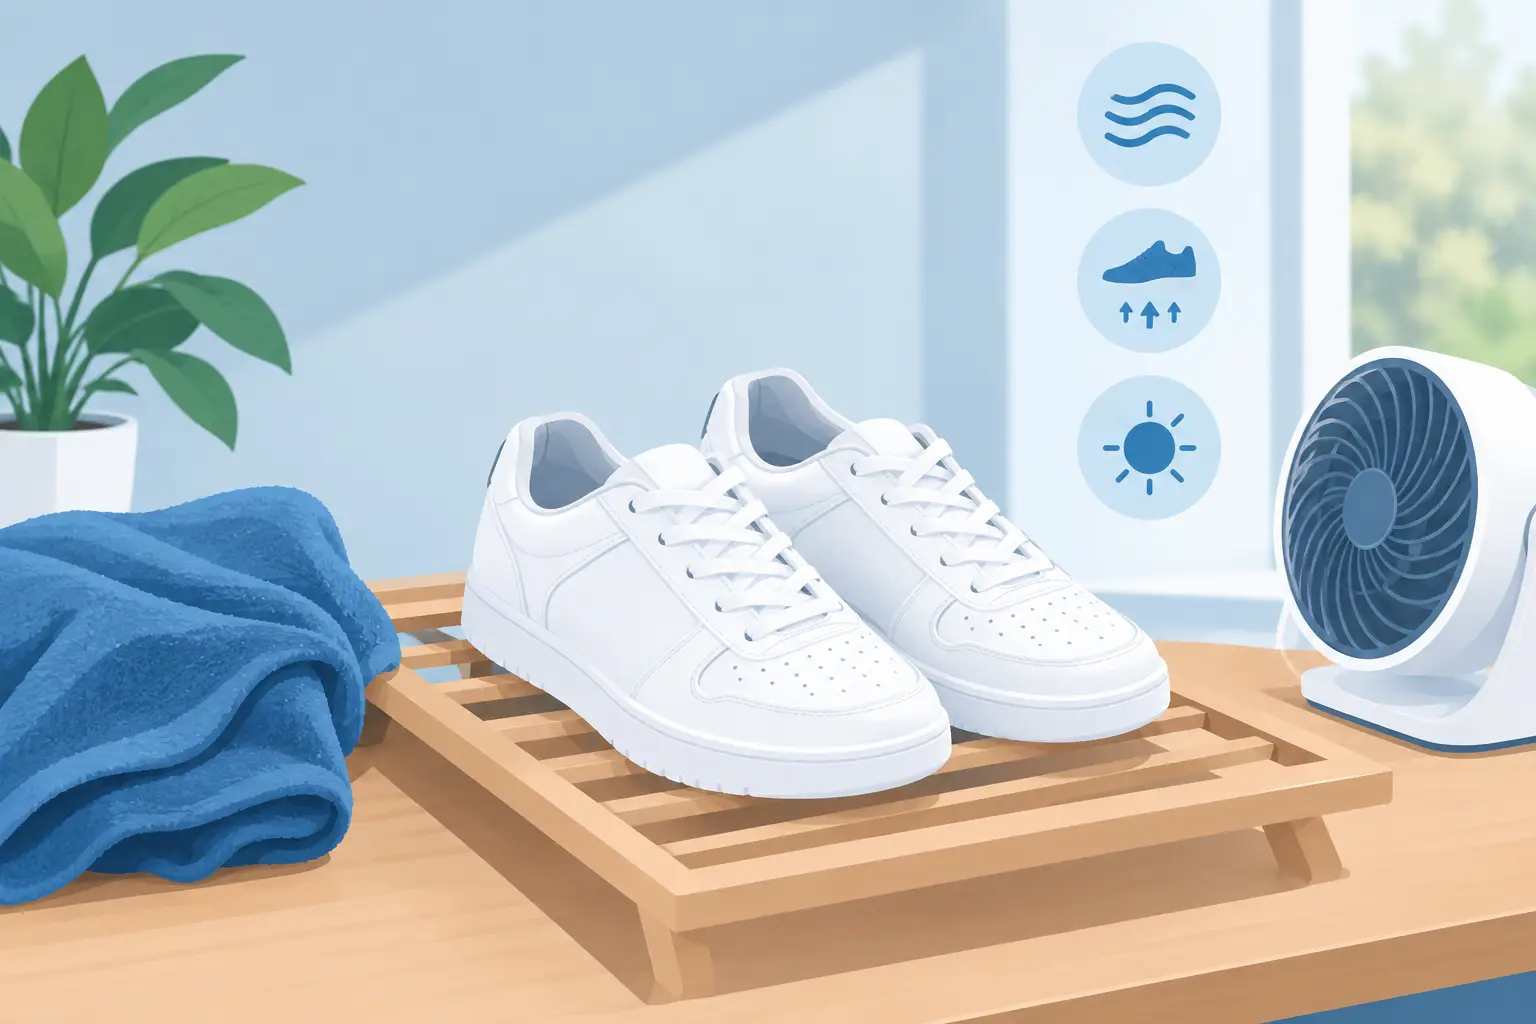
The best method is simple: air-dry your sneakers indoors in a bright, well-ventilated room. Place them on a clean towel, drying rack, or flat surface where air can circulate around the pair. A fan nearby can speed up the process significantly without exposing your shoes to damaging heat.
Position the fan so air moves across the openings of the sneakers rather than blasting directly into one small area. Rotate the shoes every few hours, especially if the soles are thick or the uppers are heavily padded. Most pairs will dry overnight or within 12 to 24 hours, depending on the material, humidity, and how saturated they were during washing.
Keep the sneakers away from direct sunlight. Sun can make white midsoles yellow, fade bold colors, and dry certain materials unevenly. Leaving them near an open window is fine if the sunlight is indirect. A shaded room with a fan is usually a safer choice than a sunny balcony or car dashboard.
After blotting, loosely fill each sneaker with plain white paper towels, unprinted tissue paper, or a clean cotton cloth. The stuffing helps absorb moisture from inside the shoe while supporting the toe box and sidewalls as they dry.
Do not pack the shoe tightly. Overstuffing can stretch mesh and knit uppers or create unnatural creases in leather. Replace the paper once it feels damp, usually after the first few hours. Two or three changes can make a noticeable difference for sneakers with thick padding.
Avoid newspaper for white, light-colored, or mesh sneakers. Ink can transfer when the paper gets wet, leaving marks that are harder to remove than the original dirt. Plain white paper is the safer move for a clean, presentation-ready result.
A fan is the sneaker owner’s best shortcut because it speeds evaporation without cooking the materials. For an even faster setup, place each shoe with the opening facing the fan and slightly lift the heel on a small, clean object so air can move beneath the outsole too.
If your sneakers are very wet inside, point the fan toward the opening for an hour or two, then rotate the pair. This prevents one section from drying while another stays damp. You can also use a cool-air setting on a hair dryer from a distance, but a fan is more consistent and requires less attention.
Heat feels fast, but it often creates expensive problems. Sneakers are built from layered materials, foams, adhesives, rubber, and textile panels. Those parts do not all react to heat in the same way.
Never put sneakers in a clothes dryer unless the manufacturer specifically says the pair is dryer-safe. The tumbling can deform the heel counter, separate glued components, and bang your shoes into the drum. High heat may also make the rubber sole hard or cause it to pull away from the upper.
Skip radiators, space heaters, ovens, and direct hair-dryer heat. They can make leather crack, cause synthetic materials to wrinkle, and leave mesh uppers misshapen. Direct sunlight has similar risks, even though it looks like the easiest option on a warm day.
Do not store damp sneakers in a shoebox, travel bag, or display box. Closed storage traps moisture, which can lead to odor, mildew, and yellowing. Your sneaker display should show off clean kicks, not lock in a hidden moisture problem.
Most everyday mesh, canvas, and synthetic sneakers handle indoor air-drying well. These materials usually dry fairly quickly, particularly with a fan and fresh paper inside. Check the toe box and tongue before wearing them again, since those areas tend to hold moisture longest.
Leather sneakers need a gentler approach. Blot them carefully and let them dry at room temperature with light paper stuffing. Once fully dry, a sneaker-safe conditioner can help preserve the finish if the leather feels dry. Do not use heavy oils or random household products, which may darken the material or leave uneven patches.
Suede and nubuck demand extra patience. Keep them away from direct heat and avoid rubbing while wet. Let the material dry naturally, then use a suede brush once it is completely dry to lift the nap and restore a more even look. Water can temporarily make suede look darker, so wait until it is dry before deciding whether it needs another cleaning pass.
For performance sneakers with foam-heavy midsoles or technical knit uppers, slow air circulation is the safest route. These pairs can retain water deep in the lining, so give them extra time. Wearing them before the interior dries can compress damp cushioning and bring back odor fast.
A sneaker can feel dry on the outside while the insole area is still damp. Before lacing up, press a dry paper towel inside the toe box and around the heel. If the towel picks up moisture, give the shoes more time.
Check the tongue, collar padding, and underside of the insole too. These hidden zones are where lingering moisture usually lives. If there is any musty smell, the pair is not ready for storage or wear yet. Put the insoles back only when both the shoes and insoles are fully dry.
Once dry, re-lace your pair and give it a quick shape check. Smooth out the tongue, adjust the toe box stuffing if needed, and wipe away any dust picked up during drying. This small reset makes a washed pair look intentional rather than simply clean.
The more water you use, the longer the drying process takes. For regular maintenance, clean surface dirt early with a sneaker-safe solution, soft brush, and microfiber cloth instead of soaking the entire shoe. Washing only what needs attention protects delicate materials and gets your pair back into rotation sooner.
For a growing collection, build a simple care routine: clean after heavy wear, let every pair dry completely, then store it in a clean, ventilated space. Sneakkool care essentials and clear storage solutions are made for that full journey – from fresh cleanup to an organized display.
Your best-looking sneakers are not the ones you washed hardest. They are the ones you gave enough time to dry properly, hold their shape, and return to the rotation fresh, clean, and ready to wear.
No account yet?
Create an Account