🚚
Use code
FLAT10
to get AED 10 OFF
on orders above AED 250.
🚚
Use code
FLAT10
to get AED 10 OFF
on orders above AED 250.
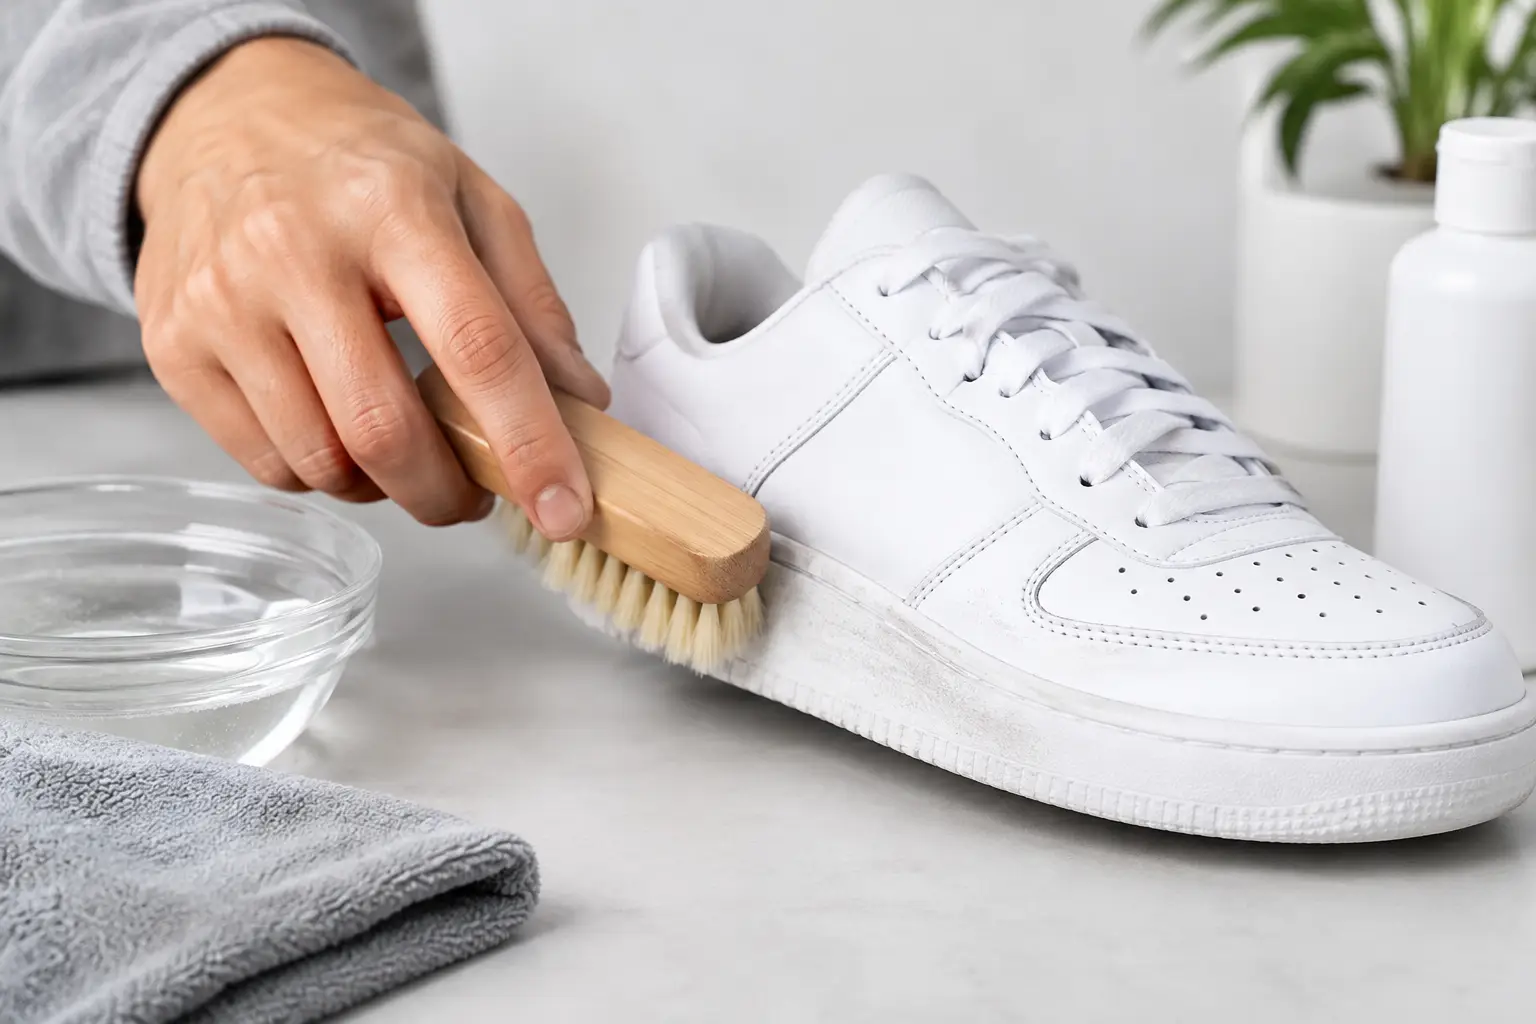
A white midsole can make a clean pair look brand new, or make an otherwise fresh outfit feel unfinished. The good news is that cleaning white sneaker midsoles does not require harsh chemicals or random household hacks. It requires a little patience, the right amount of moisture, and a cleaner made for your kicks.
Midsoles take more abuse than most sneaker owners realize. They sit closest to dust, pavement grime, curb scuffs, spilled drinks, and everything else picked up during a day out. On white foam and rubber, even light dirt becomes obvious fast. Regular, gentle cleaning keeps that buildup from settling in and protects the crisp look that makes white midsoles stand out.
Not every white midsole is the same. Rubber cupsoles, EVA foam, polyurethane foam, and textured foam all react differently to pressure, water, and cleaning products. A smooth rubber midsole is usually the most forgiving. A soft foam midsole can be more delicate, especially on performance runners and lifestyle sneakers with exposed foam sections.
Take a quick look at the shoe before reaching for a brush. If the dirt is sitting on the surface, a soft cloth and sneaker cleaner may be all you need. If there are dark scuff marks along the edge, you can use a little more focused pressure. If the white has turned yellow, the issue may be oxidation rather than dirt, and cleaning alone may not return it to bright white.
That distinction matters. Scrubbing oxidized foam aggressively can roughen the material without changing the color. Treat the cause, not just the appearance.
Start with dry shoes. Remove loose dust, sand, and debris from the midsole using a dry microfiber cloth or a soft brush. Skipping this step turns dry grit into a muddy paste once water is added, which can push dirt into textured grooves.
Use a sneaker-specific cleaning solution with a soft or medium-soft brush, depending on the material. Add only a small amount of water to the brush. The goal is controlled foam, not a soaked sneaker. Excess water can run onto suede, leather, mesh, or glue lines, creating a bigger cleaning job than the one you started with.
Keep a clean microfiber towel nearby. You will use it throughout the process, not just at the end. Wiping away lifted dirt as you go stops grime from drying back onto the white surface.
Apply a few drops of cleaning solution to your damp brush, then work along one small section of the midsole at a time. Use short, circular motions for smooth rubber. On ridged or patterned midsoles, brush in the direction of the grooves so the bristles can lift dirt out rather than pack it deeper.
Do not press hard from the first pass. Let the solution do the work. A light clean is often enough for everyday dirt, and you can increase pressure slightly only where marks remain. Wipe the section immediately with a microfiber towel, then move to the next area.
For stubborn scuffs, repeat the process with fresh foam on the brush. It is better to do two gentle passes than one aggressive one. This is especially true around painted midsoles, printed logos, air units, and foam edges. Heavy pressure can dull the finish or wear through paint before the scuff is gone.
Once the full midsole is clean, use a lightly damp microfiber cloth for a final wipe. This removes leftover cleaner and reveals whether any marks need another targeted pass. Let the sneakers air-dry indoors at room temperature. Direct sun and high heat can dry materials unevenly and may contribute to yellowing over time.
The hardest areas are usually the spots where the upper meets the midsole, deep traction-style sidewall patterns, and heel corners. Dirt settles into these tight zones and can make a sneaker look worn even after a surface clean.
Use the tip of a soft brush or a detailing brush to work these areas slowly. Avoid sharp tools, pins, or rough scrub pads. They may remove the dirt, but they can also scratch rubber, tear foam, or leave permanent marks in a glossy finish. A clean microfiber cloth wrapped around a fingertip can help lift residue from narrow lines without scratching the material.
The internet is full of quick-fix cleaning tricks, but a shortcut can cost you a clean pair. Bleach is the biggest risk. It can weaken rubber and foam, leave yellow discoloration, affect glue, and damage nearby fabric or leather. Even when it looks effective at first, the long-term result is often worse.
Toothpaste is another popular suggestion, but it is not designed for sneakers. Many formulas contain abrasives, whitening agents, or dyes that can leave residue in textured midsoles. Dish soap can work in a pinch for basic dirt, but it may leave a film and is not always ideal for the mixed materials found on modern kicks.
Magic eraser-style sponges deserve caution, too. They work through abrasion, so they can remove scuffs from sturdy rubber but can also dull glossy sections, rub off paint, and roughen softer foam. If you choose to use one, test it on an inconspicuous area first and use very light pressure.
A purpose-built sneaker cleaner gives you more control. It is made to lift dirt while respecting the leather, mesh, suede, rubber, and foam that often appear on the same pair.
A yellowed midsole needs a realistic approach. Yellowing can come from oxidation, UV exposure, heat, age, and the breakdown of certain foam compounds. If the discoloration is mild, a thorough clean can make the shoe look noticeably brighter by removing the gray layer of grime sitting on top.
If the material itself has oxidized, however, cleaning will not fully reverse it. Specialized restoration products may help in certain cases, but results depend on the sneaker’s material, age, and construction. Painted midsoles can sometimes be refinished, while exposed foam can be much harder to restore cleanly.
The smart move is prevention. Clean white midsoles before dirt becomes embedded, dry them away from direct heat, and store pairs in a cool, dry space. For collectors, crystal-clear display boxes help keep dust off prized pairs while letting the collection stay visible and organized.
You do not need a full deep clean after every wear. For everyday sneakers, a quick wipe of the midsoles after you get home can prevent dark marks from setting. A proper brush clean every few wears is usually enough, depending on weather, walking routes, and how much you wear the pair.
Reserve deeper cleaning sessions for after rainy days, festivals, travel, or heavy rotation weeks. If you wear white sneakers often, keeping cleaning wipes in your bag or car makes a difference. Fresh scuffs are easier to lift than marks that have been sitting for days.
For a growing collection, give each pair a quick inspection before storage. Make sure the soles are dry, remove visible dirt, and avoid stacking shoes where rubber can rub against another pair. Sneakkool’s care essentials and clear storage options are built for this complete routine: clean after wear, protect between wears, and keep the sneaker game presentation-ready.
A clean white midsole does more than improve one pair. It makes leather look brighter, colors look sharper, and even well-worn sneakers feel intentional. Small maintenance habits are what separate a pair that looks used from a pair that looks cared for.
Keep the process gentle, clean marks while they are still fresh, and do not chase a perfect result with harsh products. Your kicks do not need punishment to look crisp. They need consistent care and a place to stay clean once the job is done.
No account yet?
Create an Account