🚚
Use code
FLAT10
to get AED 10 OFF
on orders above AED 250.
🚚
Use code
FLAT10
to get AED 10 OFF
on orders above AED 250.
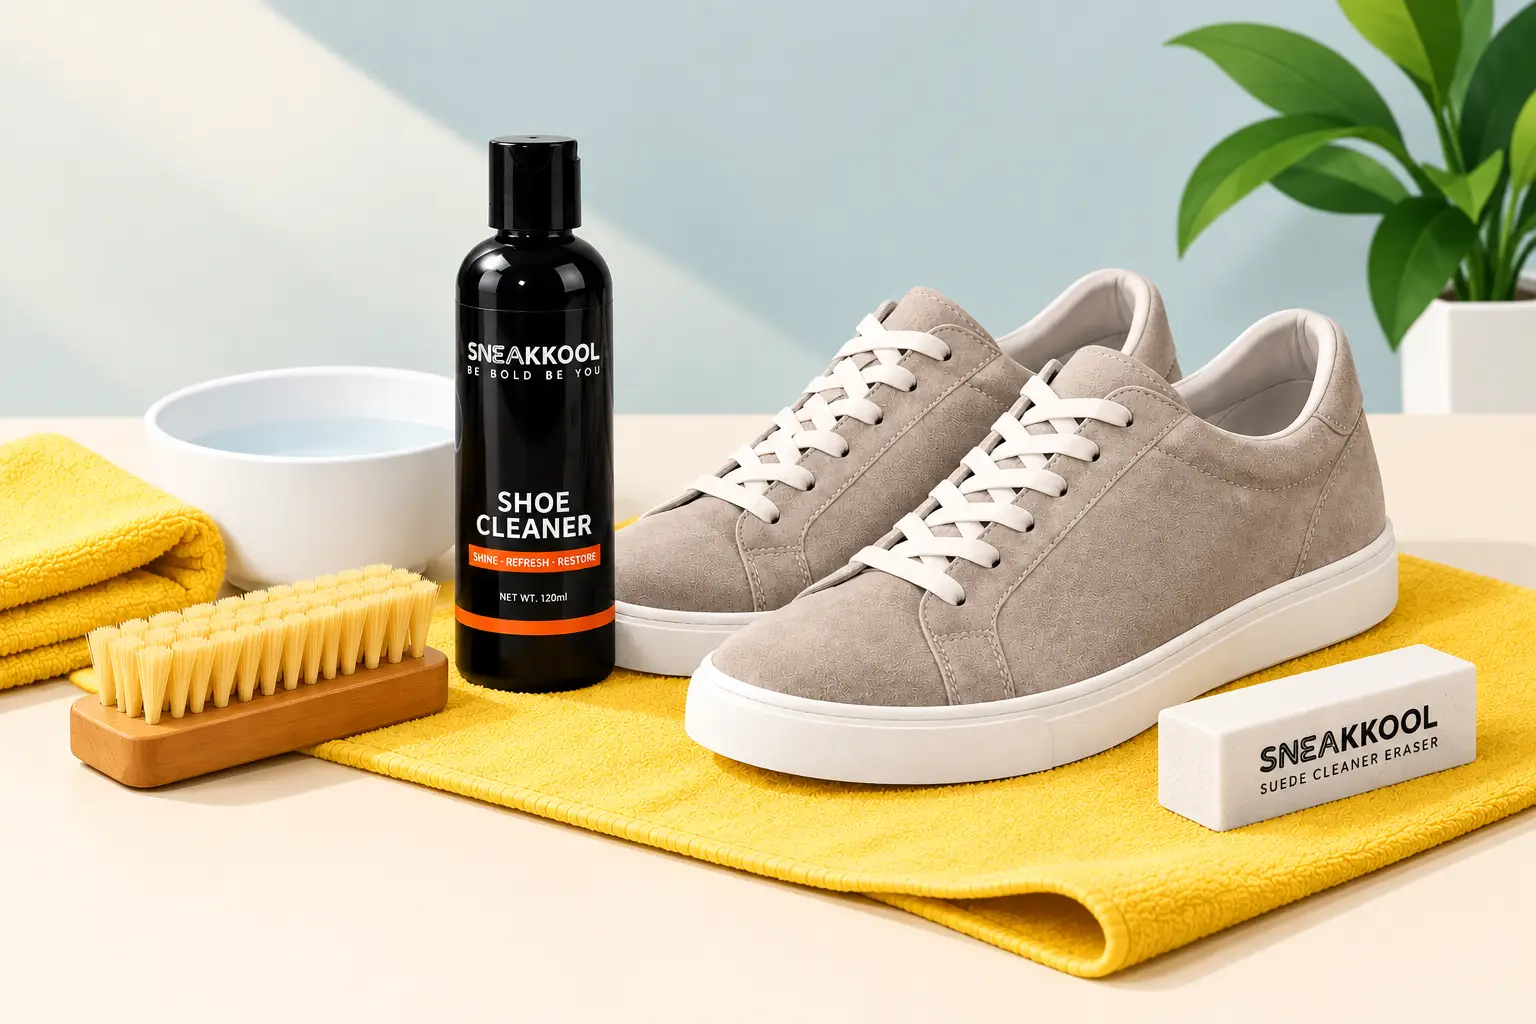
A suede sneaker can look premium one day and permanently tired after one rushed cleaning session. The material’s soft, raised nap gives your kicks their character, but it also holds dust, absorbs moisture quickly, and can stiffen when treated with the wrong product. Knowing how to clean suede sneakers is less about scrubbing harder and more about using a light touch at the right time.
Whether you wear your pair daily or keep it in the rotation for special fits, suede deserves a sneaker-specific routine. Start dry, stay patient, and avoid turning a small mark into a larger faded patch.
Unlike smooth leather, suede has a textured surface made from the underside of animal hide. Those fine fibers – called the nap – catch dirt easily. They can also flatten, clump, darken, or become rough if they are soaked or scrubbed aggressively.
That is why household shortcuts are risky. A wet cloth, random soap, laundry detergent, or a hard brush may seem harmless, but they can leave water rings, strip color, and change the feel of the material. Even a good sneaker cleaner needs to be used sparingly on suede.
The goal is simple: lift dry debris first, treat only the stained area when possible, then restore the nap so the sneaker looks even again. It takes a little more care than cleaning a rubber sole, but the payoff is a pair that stays fresh, soft, and display-ready.
Set up your cleaning area somewhere dry with good light. Take the laces out first, especially if the tongue or eyelets are dirty. Removing them gives you access to the full upper and prevents grime from spreading as you work.
For most pairs, keep these essentials on hand:
Use a white towel and white eraser whenever possible. Colored cloths can transfer dye onto light suede, particularly when the material is slightly damp. For prized pairs, test any cleaner on a small, less visible section near the heel before touching the toe box or side panel.
If your sneakers are wet from rain, mud, or a spilled drink, do not start cleaning right away. Blot excess moisture gently with a clean microfiber towel, stuff the shoes with plain paper, and let them air-dry at room temperature.
Skip the hair dryer, radiator, direct sun, and dryer machine. High heat can shrink or harden suede, while direct sunlight can fade one panel more than another. Once the material feels fully dry, you can assess the actual stain rather than chasing a temporary dark spot caused by moisture.
Use a soft brush and work in one consistent direction with light, short strokes. Do not press down. You are lifting debris out of the fibers, not polishing the surface like smooth leather.
For most sneakers, brushing from heel to toe works well. If a section looks flattened, lightly brush it in the opposite direction afterward to raise the nap. This alone can revive suede that looks dull after a few wears around the city.
Pay extra attention to the toe box, heel, and the area around the laces. These zones collect the most dust, especially on lighter colorways. Clean the midsole separately with your brush or microfiber towel so dirt from the rubber does not get worked back into the suede upper.
A suede eraser is one of the safest tools for localized stains. Gently rub the affected spot using small back-and-forth motions. Keep your pressure light and work slowly – aggressive rubbing can create a noticeably lighter patch.
Brush away the eraser residue, then check the area under good light. Repeat once if necessary. This method works particularly well for dry scuffs, surface grime, and small marks that have not soaked deep into the material.
If the stain is oily, avoid rubbing immediately. Oil can spread deeper through the suede. Instead, cover the spot with cornstarch or talcum powder, leave it for several hours or overnight, then brush the powder away. You may need to repeat this process more than once for older oil stains.
Sometimes dry brushing and erasing are not enough. For set-in grime, use a sneaker-safe cleaning solution sparingly. Put a small amount of solution on a soft brush or microfiber towel rather than pouring it directly onto the shoe.
Work on a small area at a time with gentle circular motions, then blot immediately with a dry microfiber towel. The suede should feel barely damp, never soaked. If you are cleaning one section of a panel, feather your strokes outward so the treated spot blends into the surrounding material.
Water marks are one of suede’s biggest frustrations. If you accidentally create one, lightly and evenly dampen the entire affected panel with a clean, barely moist cloth, then allow it to dry naturally with paper inside the shoe. The key is even moisture, not more water.
Once the shoe is completely dry, brush the suede again. This final pass brings back the soft texture and helps reduce uneven areas created during cleaning.
If the nap still feels stiff, use a clean soft brush with very light strokes. Do not keep applying cleaner to chase perfection. Suede often looks better after it has had time to fully dry and settle, usually overnight.
Your suede upper needs a gentle routine, but the rest of the sneaker can handle a more direct clean. Wash laces separately in warm water with a small amount of sneaker-safe cleaner, then air-dry them flat. Replacing heavily stained white laces can also give an older pair an instant refresh.
For rubber midsoles and outsoles, use a brush and cleaner to lift dirt from grooves and edges. Keep the foam away from suede panels. If your shoe has a fabric lining or removable insole, wipe it lightly rather than soaking it. Too much moisture inside the shoe can lead to odor and slow drying.
This split approach matters. A clean white midsole makes the suede look sharper, but applying the same wet cleaning method to every material can damage the part of the sneaker you are trying to preserve.
The biggest mistake is treating suede like canvas or leather. Never toss suede sneakers into a washing machine. The combination of water, detergent, and spinning can warp the shape, damage glue, and leave the upper stiff or blotchy.
Avoid using dish soap, bleach, alcohol, baby wipes, and heavily scented household cleaners. They may leave residue or alter the color. Regular cleaning wipes can be useful for rubber soles in a pinch, but they are not a replacement for a proper suede brush and targeted care routine.
Also resist the urge to clean a whole shoe because of one small stain. Spot cleaning is usually safer. The exception is a water ring across a single panel, where lightly evening out the moisture may help it dry more consistently.
The best suede cleaning job is the one you do not have to perform every week. Brush your sneakers after dusty wear, especially before putting them away. Let them air out before storage, and never place a damp pair straight into a closed box or travel bag.
A suede-safe protector spray can add a useful barrier against light moisture and daily grime, but it is not a force field. Reapply it according to the product directions and test it first, since some protectors can slightly deepen the color of certain suede finishes.
For collectors, storage is part of the care routine. Keep pairs upright, away from direct sunlight and humidity, with enough room to avoid crushed toe boxes. Clear display storage can keep your rotation organized while making it easier to spot dust buildup before it becomes embedded in the material. Sneakkool’s sneaker-focused care and storage essentials are built for exactly that kind of fresh, clean, organized sneaker game.
A little patience protects the details that made you buy the pair in the first place. Brush lightly, use moisture only when needed, and give suede enough time to dry before the next wear. Your kicks will keep looking like they belong in the rotation, not at the bottom of it.
No account yet?
Create an Account


One thought on “How to Clean Suede Sneakers Without Ruining Them”