🚚
Use code
FLAT10
to get AED 10 OFF
on orders above AED 250.
🚚
Use code
FLAT10
to get AED 10 OFF
on orders above AED 250.
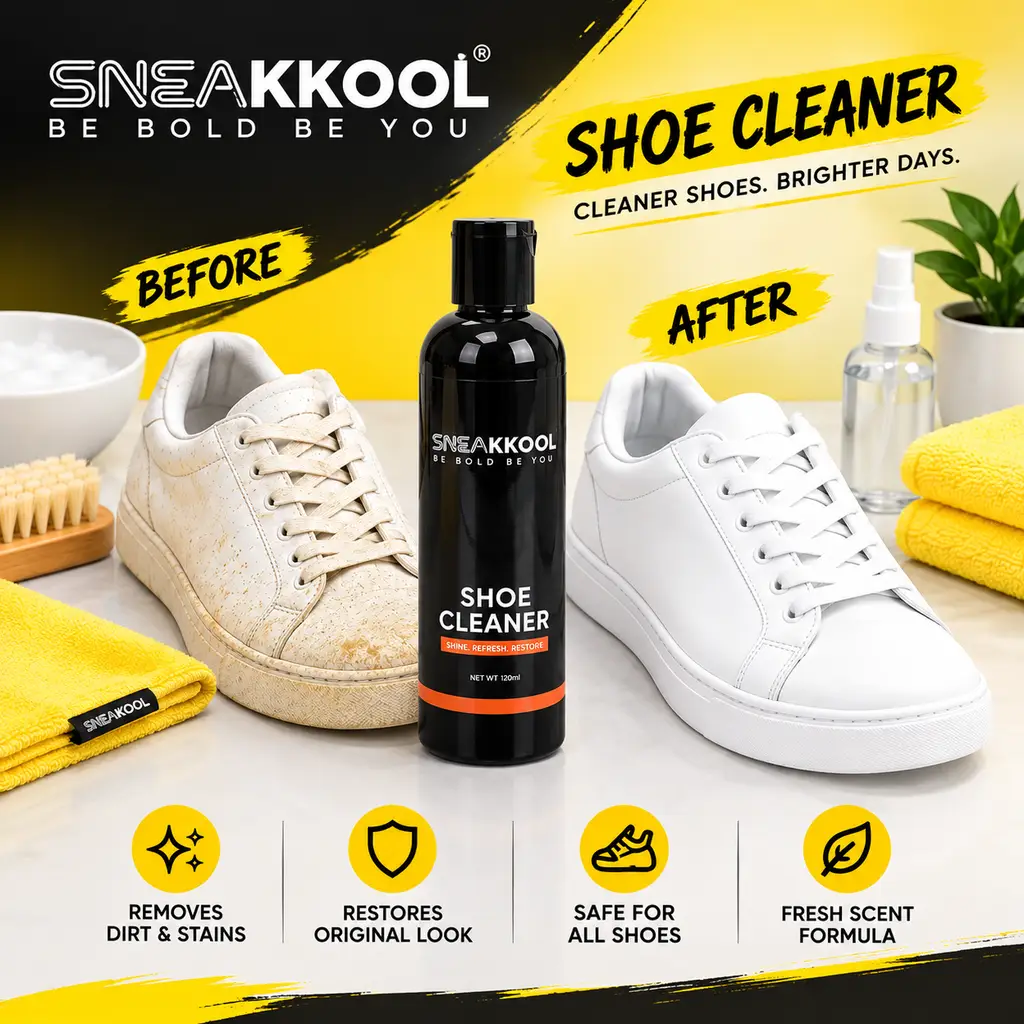
A clean white sneaker can still look worn when the midsole has that stubborn yellow tint. The good news is that learning how to remove yellow stains from shoes is less about one miracle ingredient and more about treating the right material the right way. A yellowed rubber sole, a sweat-marked canvas upper, and aged leather do not respond to the same method.
Start gently, work in small sections, and give your kicks time to dry properly. Aggressive cleaning can turn a cosmetic issue into cracked leather, faded fabric, or a rough, chalky finish.
Yellow stains are not always stains. On white rubber midsoles and outsoles, yellowing is often oxidation. Air, sunlight, heat, and moisture gradually change the surface of the rubber or adhesive. This is especially common on older pairs that have sat near a window, in a hot car, or in a humid closet.
Fabric uppers can yellow for different reasons: trapped dirt, sweat, body oils, mud residue, or cleaning products that were not fully rinsed away. Leather and synthetic leather may yellow because of dirt buildup, aging coatings, or exposure to harsh chemicals. Even clear or icy soles can develop an amber tone as materials age.
That distinction matters. Fresh surface stains can usually be lifted. Deep oxidation may improve significantly, but it may not return the shoe to a factory-fresh white. Knowing when to stop is part of good sneaker care.
Take out the laces and remove loose dust with a dry, soft brush or microfiber cloth. Cleaning over dry grit can create tiny scratches, especially on smooth leather and glossy midsoles. If the shoe is soaked in mud, let the mud dry first, then brush it away before introducing water.
Have a small bowl of lukewarm water, a sneaker-safe cleaning solution, a soft brush, a microfiber cloth, and a clean dry towel ready. A soft brush is best for knit, mesh, canvas, suede, and delicate painted areas. A medium brush can be useful on durable rubber soles, but keep it away from fragile uppers.
Avoid these common shortcuts:
Always test your cleaner in a small, hidden area first. This takes a minute and can save a favorite pair.
For most yellow marks on rubber, begin with the least aggressive option. Apply a small amount of sneaker cleaner to a damp brush, then scrub the midsole in short, controlled circles. Wipe away the foam and lifted dirt with a microfiber cloth. Repeat rather than pressing harder.
If the yellowing remains, make a mild paste with baking soda and a few drops of water. Apply it only to the rubber, not the upper, and leave it for about 10 minutes. Gently work the paste with a soft brush, then wipe it away with a clean damp cloth. Do not leave powdery residue in grooves or around stitching.
For white rubber that has oxidized rather than picked up dirt, a sneaker-specific sole brightener may offer better results than household mixes. These formulas are designed for the job, but they still require patience and careful use. Keep brightening products away from colored panels, printed logos, and delicate materials unless the label specifically says otherwise.
Fabric can look yellow after sweat, dust, or dirty water has dried into the fibers. Mix a small amount of sneaker cleaner with lukewarm water and use a soft brush to create a light foam. Work from the outside of the stain inward so you do not spread it across the upper.
Blot with a microfiber cloth as you clean. The goal is to lift the stain, not soak the shoe. Too much water can leave water rings, push dirt deeper into padding, or cause glue lines to discolor. For knit and mesh, use even lighter pressure and let the bristles do the work.
If yellow staining is still visible after drying, repeat the process once. It is safer to do two gentle rounds than one heavy-handed scrub. For stubborn white canvas, a tiny amount of baking soda paste can help, but test it first and rinse thoroughly with a damp cloth afterward.
Leather needs a lighter touch. Wipe the surface with a slightly damp microfiber cloth, then use a small amount of sneaker cleaner on the cloth or a soft brush. Clean in gentle circular motions and immediately wipe off the residue.
Do not scrub leather with baking soda paste or use strong peroxide-based products. They can dry out the finish, alter the color, or make the surface look dull. Once the shoe is dry, use an appropriate leather conditioner if the material feels dry or stiff. For synthetic leather, skip conditioner unless it is labeled safe for synthetics.
Water can darken suede and set some stains, so dry cleaning comes first. Use a suede brush or suede eraser to lift surface marks, brushing in one direction to restore the nap. If the yellowing is caused by an oily stain or major discoloration, do not experiment with household chemicals. A specialist cleaner or professional service is the safer call for premium pairs.
Hydrogen peroxide is widely mentioned for whitening shoes, but it is not a universal answer. It can help brighten white canvas or white rubber when used carefully and in small amounts. It is not suitable for suede, colored fabric, printed graphics, leather, or unknown materials.
If you choose to use it on plain white canvas or rubber, dilute it with water, apply it sparingly, and test a hidden area first. Keep the shoe out of direct sun while it works. Sunlight and strong whitening agents together can create uneven fading and may weaken materials. Wipe away all residue, then air-dry indoors.
If your sneaker has multiple materials, protect the panels you are not treating with a dry cloth and work slowly. A clean look is never worth sacrificing the finish of the rest of the shoe.
After cleaning, stuff shoes loosely with clean white paper or an unprinted towel to help them hold their shape and absorb moisture from inside. Do not use newspaper, which can transfer ink. Leave them in a shaded, well-ventilated area with good airflow.
Avoid direct sunlight, radiators, hair dryers, and enclosed hot spaces. Heat can turn a simple cleanup into warped soles, yellowed glue, or brittle materials. Let the pair dry fully before relacing or putting it back in storage. A shoe that feels dry on the outside can still hold moisture around the tongue and insole.
The best cleaning session is the one you do not have to repeat next weekend. Wipe down your kicks after wear, especially if you have walked through dust, rain, or city grime. Clean small marks early before they settle into fabric or rubber.
Store shoes away from direct sun and excessive heat. If you are building a collection, clear display boxes can keep pairs visible and organized while protecting them from dust and accidental scuffs. For long-term storage, make sure every pair is completely dry first. Sealing in moisture is an easy way to invite odors, yellowing, and material damage.
A dedicated sneaker cleaning kit also keeps the routine simple: the right solution, brush, and cloth are ready when a mark appears. Sneakkool is built around that full care routine, from keeping everyday pairs fresh to giving collector kicks a clean, presentation-ready place to live.
Yellowing does not always disappear in one pass, and deep oxidation may leave a faint trace. But careful cleaning, proper drying, and smarter storage can make a dramatic difference – and help your favorite pair stay in rotation looking clean, sharp, and ready to wear.
No account yet?
Create an Account